Regular oil changes are one of the most important aspects of maintaining your vehicle’s engine. Over time, engine oil breaks down and becomes contaminated with dirt and debris, which can cause damage to your engine if left unchecked. This guide covers the steps to perform an oil change yourself, saving you time and money.
Step 1: Gather necessary tools and materials Before you begin, make sure you have the following:
- New engine oil (consult your owner’s manual for the correct type and amount)
- New oil filter
- Oil filter wrench
- Socket wrench set
- Oil pan
- Funnel
- Gloves and old clothes
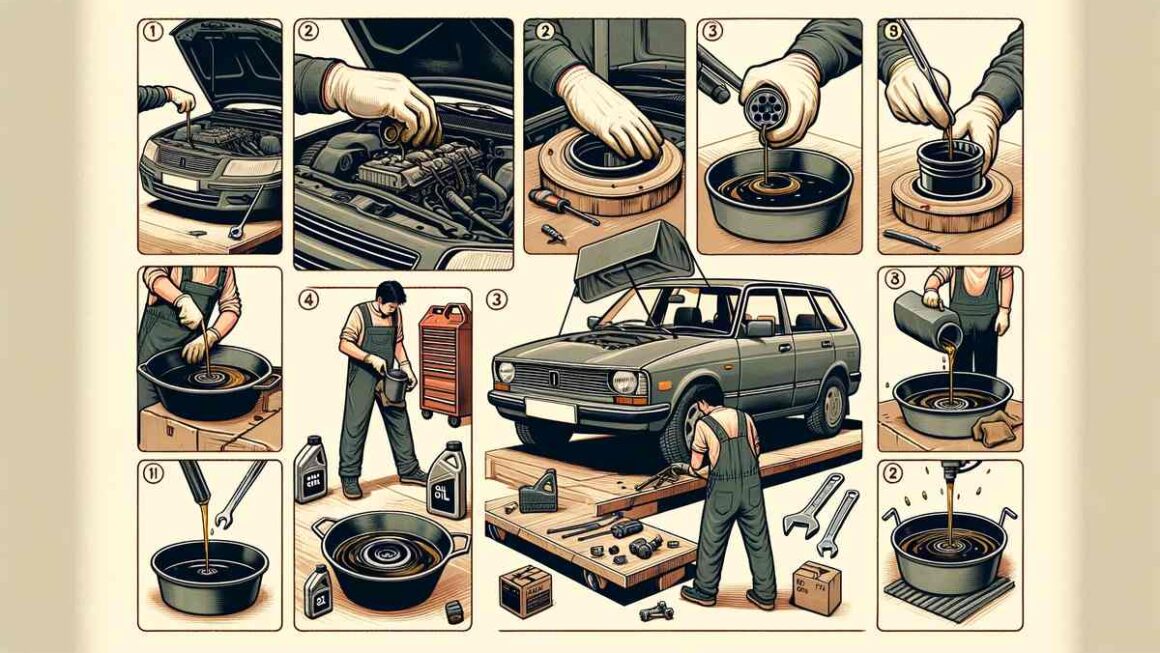
Step 2: Prepare your vehicle Park your car on a level surface and turn off the engine. Let the engine cool for at least 30 minutes to avoid burns from hot oil. Engage the parking brake and chock the rear wheels for safety.
Step 3: Locate the oil drain plug and filter Consult your owner’s manual to find the location of the oil drain plug and filter. Position the oil pan beneath the drain plug.
Step 4: Drain the old oil Using the socket wrench, loosen the oil drain plug and remove it carefully. Allow the oil to drain completely into the pan. Replace the drain plug and tighten it securely.
Step 5: Replace the oil filter Locate the oil filter and use the oil filter wrench to loosen it. Remove the old filter and carefully clean the filter housing. Apply a thin layer of clean oil to the rubber gasket on the new filter, and then screw it in place. Tighten the filter as specified by the manufacturer.
Step 6: Add new oil Using the funnel, pour the new oil into the engine through the oil fill hole. Check the dipstick to ensure the oil level is correct, and then replace the oil fill cap.
Step 7: Clean up and dispose of old oil Clean any spilled oil and dispose of the old oil properly. Many auto parts stores and service stations accept used oil for recycling.
Step 8: Start the engine and check for leaks Start your engine and let it run for a few minutes. Check for any leaks around the drain plug and oil filter. Turn off the engine and recheck the oil level, adding more if necessary.
By following these steps, you can successfully change your own oil and keep your engine running smoothly. Regular oil changes every 3,000 to 5,000 miles, or as specified by your owner’s manual, will help extend the life of your vehicle and prevent costly repairs down the road.